Il tuo carrello è vuoto


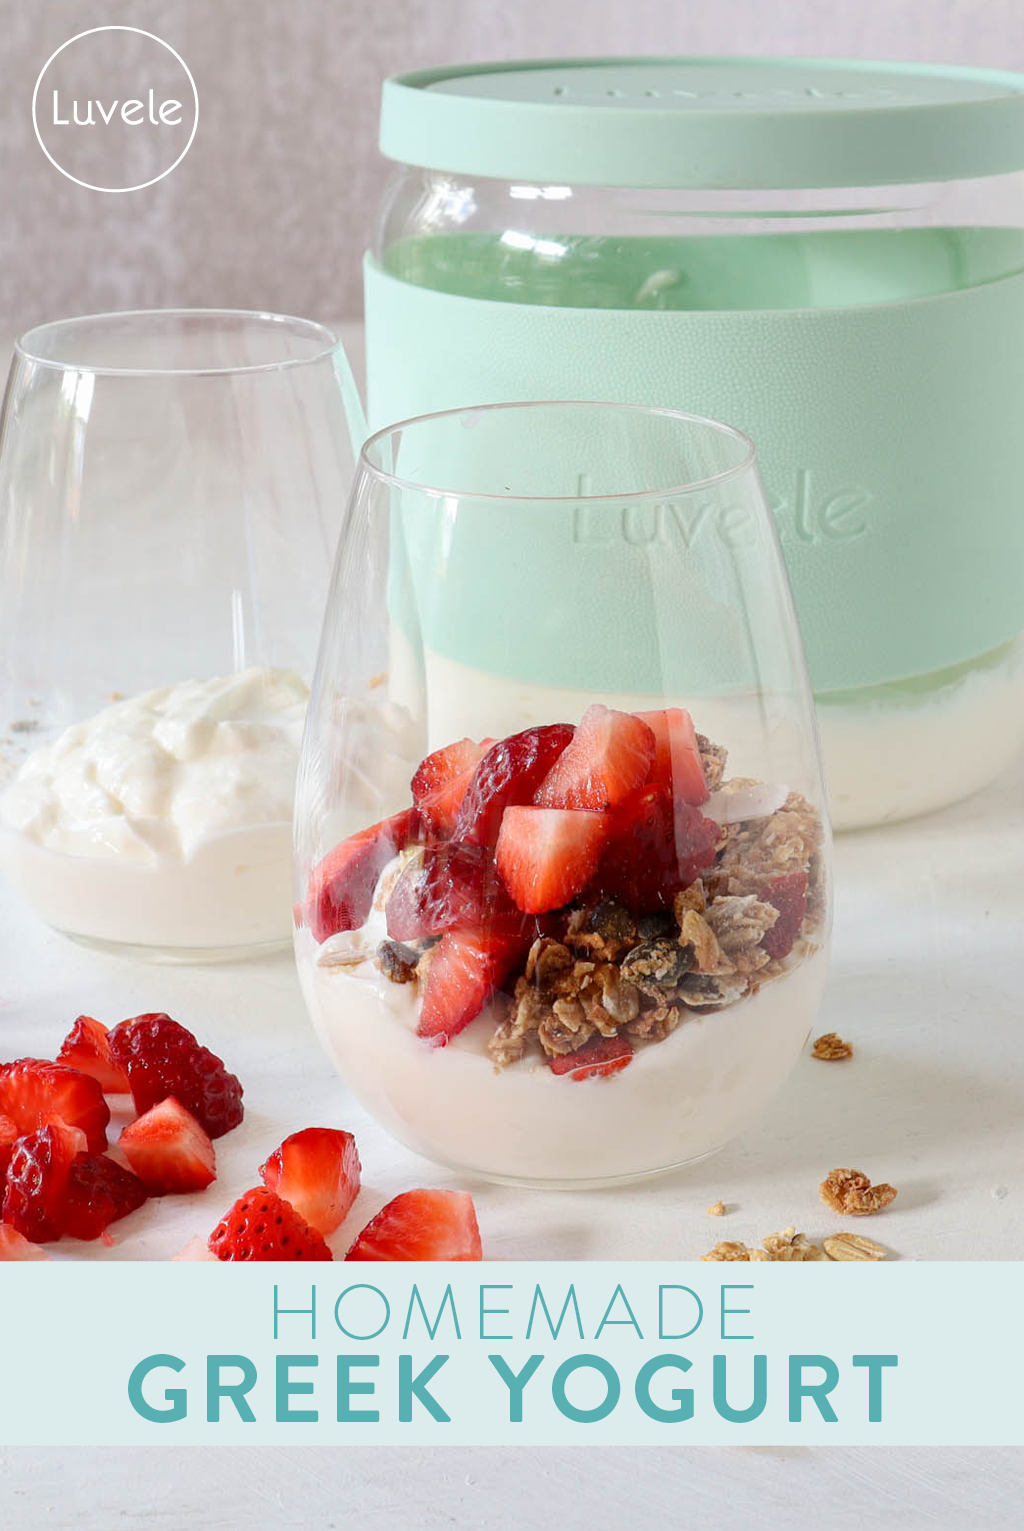
Best ever, homemade Greek yogurt


How to strain traditional yogurt.
Yogurt is one of the most universally loved fermented foods and was invented (or discovered) independently in many different parts of the world. You might not guess that if you looked in our supermarkets though. Have you ever wondered why, our supermarkets only ever sell Greek yogurt?
‘Greek’ yogurt, as in yogurt that is made and eaten by people in Greece, can be thick or thin and can be made from cows, sheep, or goats. Depending on the temperature, the strains of bacteria, or the type of animal milk used, the final yogurt could vary in texture. Goat milk yogurt, for example, contains much more whey than cow’s milk yogurt and remains thin, like drinking yogurt. Because the outcome of fermenting dairy was not predictable, straining yogurt curds was a step employed to improve the consistency.
Straining yogurt to remove the liquid whey was known to many cultures and is not uniquely Greek. It was actually an American yogurt company that first began straining yogurt for commercial sale – they coined the term ‘Greek Yogurt’ and others were quick to follow.
Attaching a location onto a type of yogurt proved to be smart marketing and drove a positive health trend away from sweet, dessert-style yogurt production. An appreciation for unsweetened, natural tasting, ‘tangy’ yogurt was born.

Homemade Greek style yogurt
If you love thick, creamy and slightly tart-tasting yogurt – then you’ll be blown away with it homemade. Making it at home means you:
- can choose the best quality milk
- can control the temperature and fermentation time
- know it’ll be overflowing with more probiotics than anything you can ever find at the supermarket.
Store-bought ‘Greek yogurt’ (not yogurt from Greece) is made from cow’s milk and is initially made the same way as other dairy yogurts, with the same strains of bacteria. The commercial method takes approximately 6 hours maximum.
At Luvele we recommend up to 24-hours. We outline the benefits of a longer fermentation here. To make it ‘Greek style’ the yogurt is then strained for a time to remove some of the liquid whey. Besides improving the consistency, straining also increases the protein and removes some of the lactose sugars which helps to lower the amount of carbohydrate in the yogurt.

We often get customers asking us about making ‘Greek yogurt’ in the Luvele yogurt makers. The stable fermentation condition created by our unique water-bath technology have guaranteed such impressive results with our cow’s milk 24-hour yogurt method that straining, to improve the texture, is not generally necessary.
For especially thick and creamy homemade yogurt, we recommend this method which includes dry milk powder and an extended heating time. We also explore the process of dripping homemade yogurt to make yogurt cheese here. Rather than send our customers skipping from pillar to post to learn how to make Greek yogurt at home, we have finally created this step by step post. We hope you enjoy the difference.
WHAT HOW GREEK YOGURT IS MADE HERE
Ingredients
Method
1. Measure Quantity
Measure the appropriate quantity of milk to fill your Luvele yogurt maker and pour into a large, clean saucepan.
2. Heat and hold the milk at 82° C (180° F)
Use a thermometer. Note, as you become more confident with heating milk to make yogurt you will be able to judge when the milk is nearing 82° C (180° F) because it will begin to swell and rise in the pot (just before it simmers). Hold the heat at this temperature for anywhere between 2 - 10 minutes. The longer the better. Holding the milk at this high temperature allows the milk proteins to denature which thickens the yogurt.
Tip: It can be a challenge to hold the milk at a high temperature for so long. Don’t get too caught up on the precise temperature. If the milk accidentally simmers briefly, don’t panic – reduce the heat and continue. Use a wok ring (or something similar) to create a distance between the flame and pot or use a double boiler pot filled with boiling water.
3. Cover the milk & let cool to below 42° C (107° F)
It is fine if the milk cools down well below 42° or even goes cold, it just mustn't be too hot. Temperatures above 43° C will kill the starter culture. The perfect temperature range for making yogurt is between 36° C (97° F) and 42° C (107° F).
As the milk cools a layer of skin will form on the yogurt. It does not produce lumpy yoghurt. NOTE: If you are using unhomogenised milk, the skin will include the cream.

4. Pour the milk into the yogurt making glass jar
5. Add the starter culture and gently whisk it in.

6. The milk is ready for fermentation.
Secure the lid firmly on then place the glass yogurt jar into your yogurt maker. Pour water slowly into the base. The water must not be filled over the ‘tall line’ indicated on the inside wall of the maker. Place the cover lid on top. The milk is now ready to begin fermentation.
7. Set the time & temperature.
Use the digital control panel to set the temperature to 38° C (100° F), the time to between 9-24 hours and then press ‘confirm’ to begin incubation.
8. When fermentation is complete.
Condensation will have collected under the cover lid. Please take care removing it and allow the water to drip into the water bath, instead of your bench! Switch the yogurt maker off and remove the yogurt jar. Straight from the maker the yogurt will be runny and warm. NOTE: Depending on the milk you used, there may be a layer of yellow cream on top of the yogurt.
9. Place the jar in the fridge for at least 6 hours to chill and set.
When the yogurt is completely chilled you are ready to drip the out the whey.
10. Strain the yogurt.
You can use a nut milk bag or muslin cloth over a colander or wire strainer. Draw up the four corners of the cloth and gently scrunch together to form a pouch. Whey will begin to drip through immediately. Do not squeeze as this blocks the cloth and slows down the natural separation and drip process.

11. Set aside.
In cool weather, yogurt can drip at room temperature. In summer it is best to place the yogurt in the fridge. Leave the yogurt to drip for approximately 2 hours. After 2 hours dripping, you will end up with half the amount of yogurt you started with. Yogurt can be left to drip longer for a thicker finish. The final consistency is personal one and may depend on what you are planning to make. Leaving the yogurt to drip overnight will result in ‘Labneh’, the Mediterranean yogurt cheese.
12. Thoroughly wash the yogurt making jar.
13. Untie the yogurt bundle.
The yogurt may appear drier at the edges of the cloth. Tip the strained yogurt from the cloth back into a clean Luvele yogurt making glass jar.
Stir the yogurt with a whisk to remove the lumps
14. Storing Greek Yogurt.
Secure the lid on and place the yogurt in the fridge until required. Greek style strained yogurt will keep in the fridge for 2-3 weeks.
Left over whey
The straining process will leave you around half a litre of left-over whey. Many people regard whey as something to throw out, when in reality it is an ingredient (or food) in its own right. It is low in calories, packed full of protein, vitamins, minerals, enzymes and active bacteria that shouldn’t be wasted. Here are some tips on how to use excess whey.
PIN THIS RECIPE

Item is added to cart